Quality Issues After VHS Digitalization
VHS (Video Home System) tapes date back to 1976. Limited by analog magnetic recording, their original horizontal resolution is only 240-333 lines, far below the modern 1080P (1080 lines) standard. More critically, the VHS signal-to-noise ratio (SNR) is about 43dB, so the picture often shows visible noise, color shift, tracking jitter, and interlacing comb artifacts.
Digital capture converts tape content into a digital file, but it does not "automatically improve" quality — it simply copies all the analog signal defects 1:1, and may even introduce extra loss through capture card compression. Common problems include a gray and soft picture, coarse noise grain, jagged edges, and low color saturation.
Data Reference
VHS original SNR is about 43dB, DVD about 50dB, and Blu-ray about 55dB. AI denoising can raise the SNR of digitized VHS footage above 48dB, approaching DVD-level quality.
Digital Capture Essentials
High-quality digital capture is the foundation of later AI restoration; capture quality directly determines the restoration ceiling.
Device Selection
- Playback device: Prefer an S-VHS VCR with TBC (time-base correction), such as the JVC HR-S9600, to effectively suppress jitter and color crosstalk.
- Capture card: Use a professional card supporting 10-bit sampling (e.g., Blackmagic DeckLink) to avoid the secondary compression caused by cheap USB capture sticks.
- Connection: S-Video outperforms composite (RCA) by separating luma and chroma signals, reducing color bleeding.
Sampling Rate and Encoding
- Resolution: Capture at 720×576 (PAL) or 720×480 (NTSC) to preserve the original VHS information.
- Sampling rate: Luma sampling rate no lower than 13.5MHz (ITU-R BT.601 standard) to avoid aliasing from undersampling.
- Encoding format: Use lossless or low-compression formats (e.g., Huffyuv, ProRes) during capture — never capture directly to highly compressed MP4.
Step-by-Step AI Quality Restoration
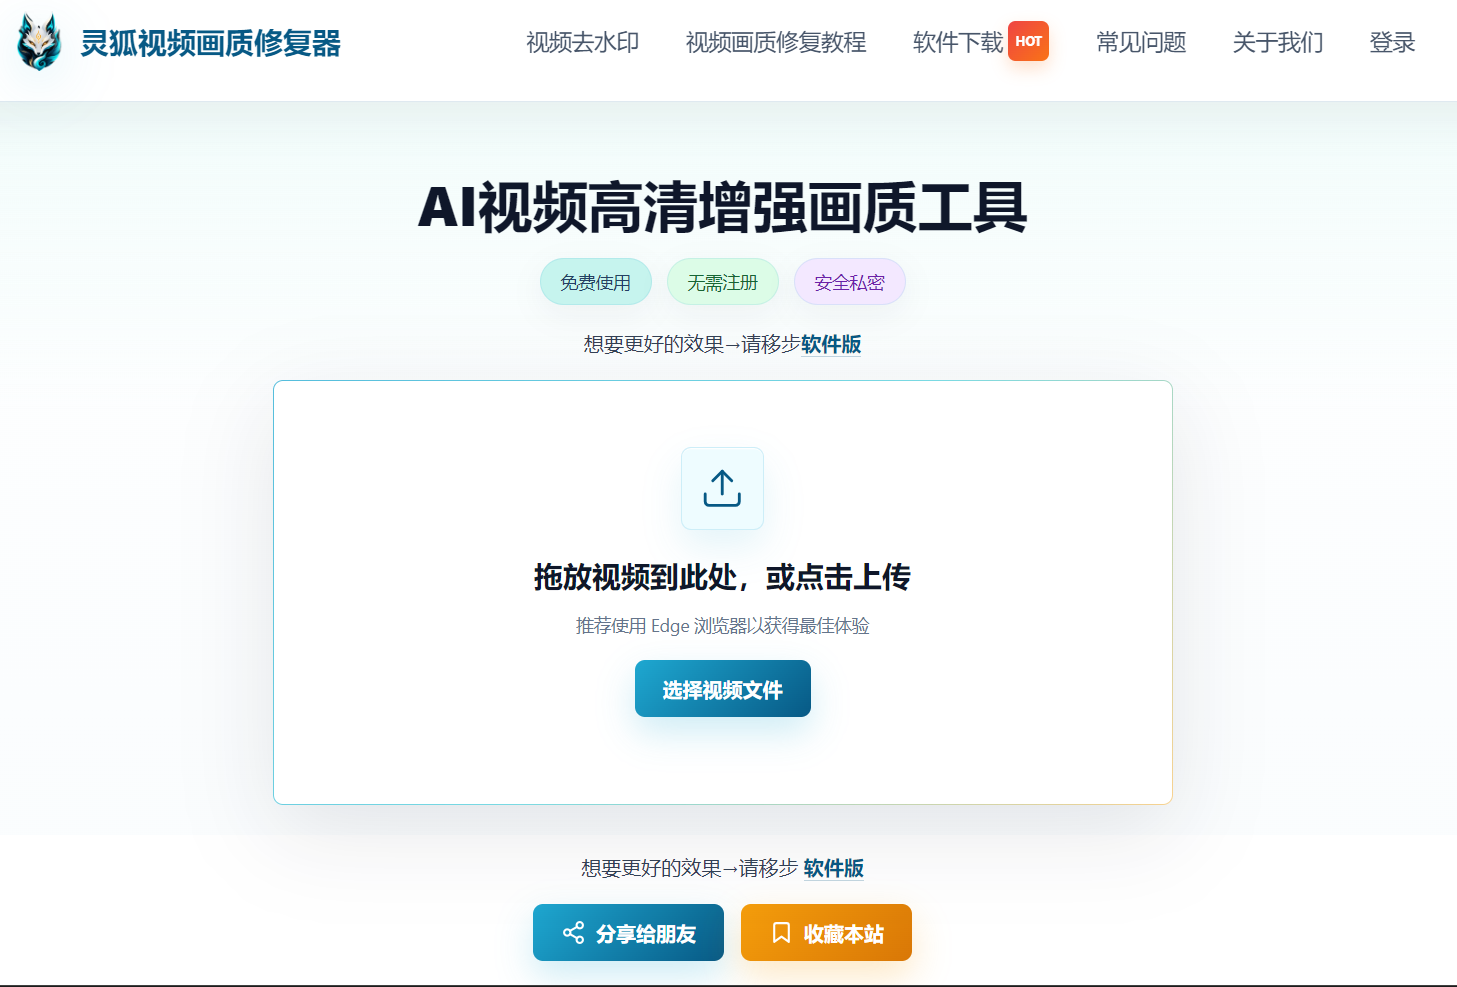
After digital capture is complete, use Linghu Video Quality Enhancer for AI enhancement — the entire process runs in your browser with no software installation required.
Step 1: Upload the digitized video
Open Linghu Video Quality Enhancer and drag your captured VHS digital file into the upload area. The tool runs on WebGPU using your local GPU; the video is never uploaded to the cloud, protecting your family privacy.
Step 2: Choose a restoration model
Select the appropriate enhancement option based on VHS footage characteristics:
- AI denoising: Targets the 43dB low-SNR picture, intelligently separating noise from detail to raise SNR above 48dB.
- 4x super-resolution: Upscales the 240-333 line low-resolution picture to 1080P/4K, reconstructing lost texture detail.
- Deinterlacing: Removes the comb-like interlacing artifacts common in VHS.
Step 3: One-click processing and export
Click "Start Restoration" and the AI model automatically completes denoising, super-resolution, and sharpening. Preview the comparison online, then export the HD MP4 file when satisfied.
Before and After Comparison
In testing, digitized VHS footage improved subjective sharpness by about 3x after AI restoration — facial textures, clothing details, and background text all become discernible.
- Horizontal resolution: 240-333 lines → 1080P (1920×1080)
- SNR: ~43dB → 48dB+
- Noise grain: Visible → Almost invisible
- Edge sharpness: Blurry and soft → Crisp and sharp
- Color reproduction: Shifted and gray → Saturated and natural
Your precious family footage can be preserved for the long term, bringing dusty VHS tapes back to clarity. This tutorial was compiled by the Linghu Video Quality Enhancer technical team and verified through real testing with WebGPU local processing and the RealESRGAN super-resolution model.
Try Linghu Video Quality Enhancer now — browser-based local processing, no sign-up, no watermark
Start Restoring Video